Why do these things take so long! I've said it in other stories that I have written and even in a few sermons that I delivered. Life happens. I wanted this to be done by the end of January... ok, February... sheesh here it is March and I'm just finishing painting!
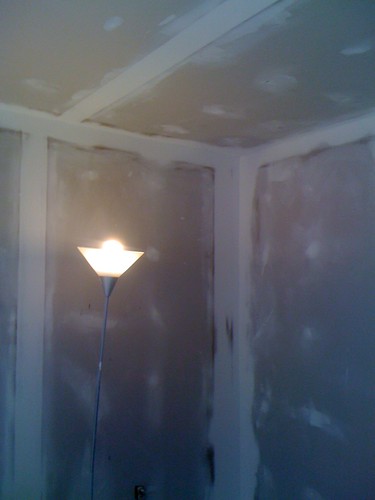
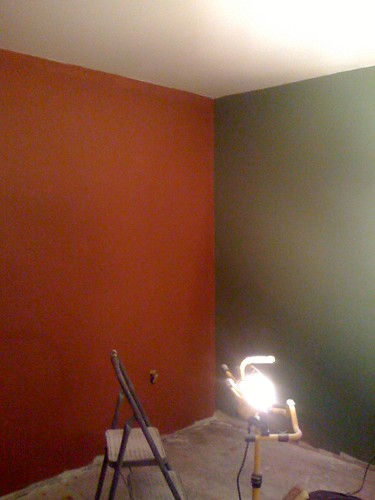
Walls and ceiling are painted! it's not the best drywall work in the world, there's little areas here and there if you look close. So don't look. A good friend of mine, Michael Nathan (of Nathan Sports) told me that he wouldn't hire an A+ type. They're never satisfied and take forever to get things done. He would rather the B student. Good job, turned in on time.
Get it done.
So here are the colors of the studio. The red wall is where the mix console is going.
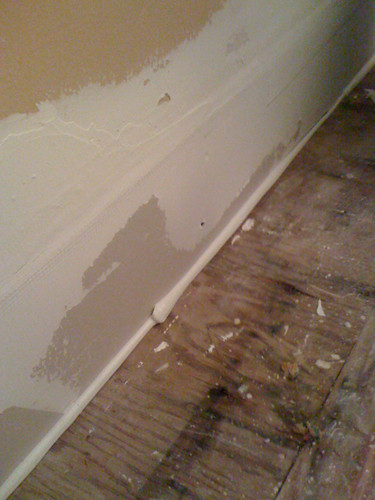
and here is a quick shot of the mass that is three layers of drywall.
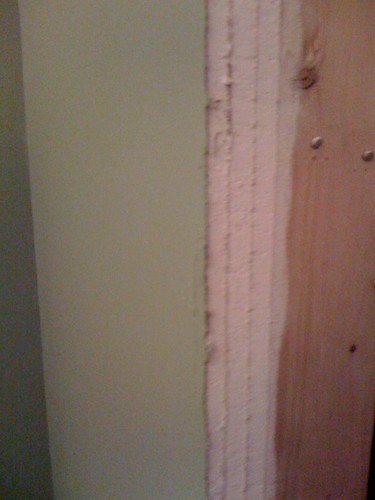
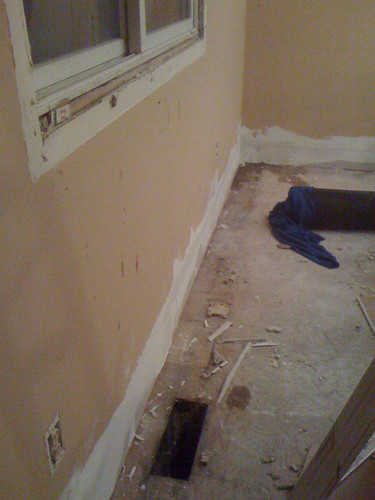
I have to touch up a few paint spots but then I can clean up the drywall mess and paint mess and bring in the material to build the door.
Once the door is built, the floor goes in. Once the floor is in, the trim can happen. Once the trim happens the acoustic panels get built and hung. Once the panels are hung, we move in gear and get busy!
Tuesday, March 6, 2012
Tuesday, February 21, 2012
Studio Build 5
Ok, with the show Urinetown, The Musical all wrapped up for me, and the New York International Toy Show behind us, we can get back to work!
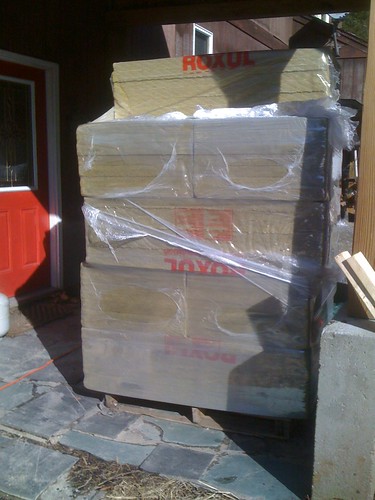
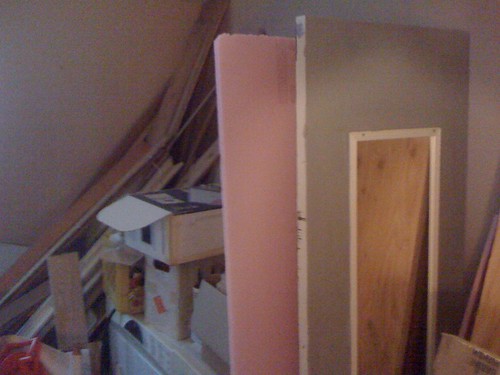
While we were down in NYC, the 61 sheets of Roxul Rockboard 60, 2" thick arrived from Herrington's building supply.
That and the material to build the frames as well. I had to special order it, and it came in quicker than expected but we'll get to it soon. First we just finished the sanding of the drywall.
We actually have already primed the walls as well, we'll finish priming and get the first coat of paint up on Wednesday evening if all goes well. Then, we'll build the door!
WOOO
Wednesday, January 4, 2012
"How do I find Voice Over Work?"
This is just a quick aside. I was just at an on-camera video shoot for a medical training film. While there and chatting up the crew and director I mention that I do voice work as well.
"Really? We're always looking for good voice talent." Was the response.
Personal connections. Getting out there and telling people about you skills IN PERSON.
Look, people are busy. Producers and directors don't want to work hard to find a voice. The reality of listening to 50 auditions on V123 or any other site.. well, who has time? I'm now a face and a friendly personality to this studio. I dropped them my business card and followed up with an email with a direct link to my site and demo's.
Will it result in work? It might. Bottom line, the work is out there. It won't come knocking on your door necessarily, but if you knock on its door, you just might be invited in. Go find the people that are hiring and GO VISIT! Let them know you exist and want to help them out on a project.
Ok, back to working on the studio.
Monday, January 2, 2012
Studio Build 4
Ok, an update.
Heavy duty hinges from McMaster Carr have arrived. I'm using a salvaged 36" fire door for my initial door blank. To that I will add a layer of wood veneer on the outside for looks and a layer of 3/4" cabinet grade plywood to the inside with a layer of GreenGlue between the firedoor and the plywood.
The Plywood will be stepped in 1" from the edge of the firedoor, and will be attached with a metal strip running around it's edge. So we will end up with a seal on the fire door, then a step to a seal to the plywood, with another magnetic seal to the metal strip on the plywood.
3 seals with a drop seal on the bottom when the door is closed with a seal on the threshold as well.
I'm following the design of Rod Gervais's "Super Door", he used a wooden door with lead sheet between the plywood, so I am taking his design and modifying it a little. The idea is mass mass mass and air air air. No airflow, heavy mass.
Also on order are 60 Sheets of Owens Corning 703 rigid fiberglass. They will be put into wooden frames and covered in a burlap type of fabric to be room treatment on the walls. We'll get there!
Studio Build 3
Onward!
After the walls were patched, I used up a couple of large tubes of SilenSeal. Primarily around the edges of the wall and floor. I'll add more around the window and door once they are ready.
and this is a shot of how I've applied the GreenGlue to the back of the next layer of Drywall.
It's gooped on, then troweled out with a floor mastic spreader.
All of the drywall is up, and I'm feeling kind of buff. Next is a scratch coat of drywall compound and while that dries for a day or so, we'll start building up the "Super Door"
More pic's to follow.
Studio build 2
Ok, update time!
Cleaned things out, and time to patch up some of the existing drywall.
The plan is to add another layer of drywall with GreenGlue in between. I discovered that this room already had two layers of drywall already! A full inch of gypsum board. So adding another layer would just increase the mass to where I wanted it.
Patched a bad part of the ceiling...
and framed out for the studio door.
One interesting thing was how they had installed the forced hot water system for heating. The attached the backing plate to the raw studs, then put up the drywall. So the house has been converted to GeoThermal with a air system. All of the ductwork is silent fiberglass, so we can pull the old copper heating pipes. BUT, that gave me one more area to patch...
a lot of crawling around on the floor!
Studio Build!
Ok, time to step up the game.
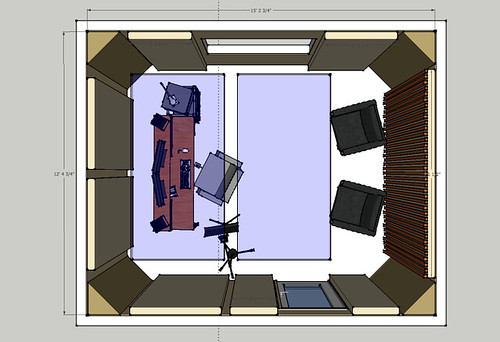
A few months ago I hired Mike Sommer to design me a studio. I was thinking it would be a booth with a control room type of setup. Mike advised me to keep the microphone in a large space. I've read that the BBC recommends that a sound booth be no smaller than 1500 cubic feet. The room I had available was aprox 12x15x8 for a total cubic volume of 1440.. that will have to do.
Here's Mike's design for the space.
and here is how the space looked when I started. It was FILLED with junk as the room was a catch all for all sorts of projects.
So first we had to hoe it out. It took two utility trailer loads to the dump!
Subscribe to:
Posts (Atom)