
But we put on our play clothes on Sunday and GOT BUSY!
So the threshold is in.

It is raised up off the floor leaving room for the floating floor to tuck underneath it. We had to lean the door back slightly, as the room has a crown to it, and the door was going to drag on the floor, since it's a metal door and we want a tight seal, there was no reshaping the door.
We have the first layer of door gasket in, (there will be 3)

On the exterior face of the door will be another layer of material, initially I was going to use some 3/4" cabinet grade plywood I had laying around, however I evidently used that on the shed project. SO I tore into a bundle of Australian Cypress I had left over from the in-law apartment flooring. Might as well use it!
It's 3/4" and bonded now to a piece of 3/8 masonite.

Here's how it looks as I test fit it to the door. Note that it's stepped in from the edge of the door, that's due to the need to create a step for the second layer of gasket. Think bank vault door.
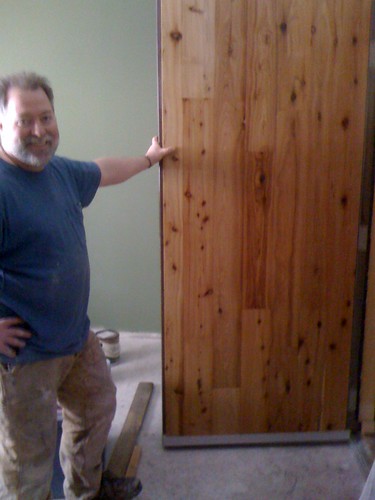
So, the next step is to router in a groove for a strip of steel. Why you ask? because the third layer of gasket is a magnetic seal, just like your refrigerator. The steel strip will provide something for the magnet to stick too. I also have to find a decent door handle and latch. The fire door has a standard size hole for a commercial handle set, but paying over $300 isn't in the budget. So we're going to get creative, (I'm not cheap! I'm thrifty!)
Stay tuned...
No comments:
Post a Comment